Profiling Router Bits- The Five Basic Shapes
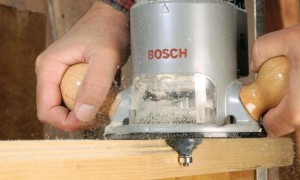 Profiling Router Bits are all about adding visible details using shadow and light to your projects: outer edge shaping, moldings, picture frames, cabinetry etc. A decorative edge can add considerable visual appeal, square edges are more common place, but it doesn’t have to be your first or last choice in edging. When these bits are used with a hand-held router, they will usually have a bearing on the end that follows the edge of the part and controls the cut depth.
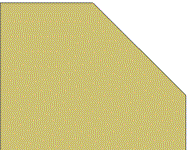
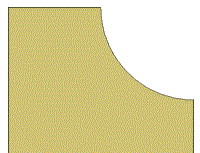
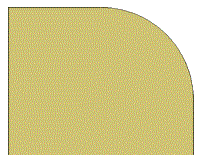
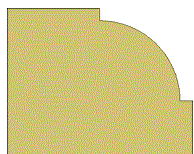
Almost every trim profile can be reduced to one of five basic shapes: chamfer, cove, round, bead and flute. (Note: The word ‘flute’ is also used to refer to the cutting edge of a router bit).
 |
 |
 |
 |
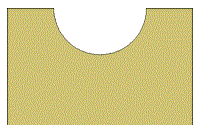 |
| Chamfer | Cove | Round | Bead | Flute |
Now these are just 5 of the most common profiling bits used, there are many more, not to mention the custom router bits (click here) that we make. If you just want to use what you have on hand you can use a combination of these to create several edge treatment possibilities. For example, combine a cove and a round over to rout a Roman Ogee or a bead and cove to rout a Classical Bead and Cove. In most cases you will find it easier to simply purchase the profile bit that best suits your application, individually or in a set.
Guiding the Bits
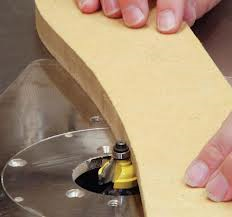
Edge profile bits must be accurately guided along the edge of the work piece for a controlled cut. You will find that a lot of edge-forming bits have a ball bearing guide mounted on the top of the bit (often referred to as piloted bits). These guides act as a fence as the bit rolls along the non-routed portion of the edge. This will only work when there is enough of a ledge for the ball bearing guide to ride on. When the entire edge of the piece is to be profiled then this edge will not be present and the bit cannot be guided by the bearing; these pieces will have to be routed using an external fence on the router base, or with a fence on the router table. As a general rule, when buying a router bit that is available with or without a guide bearing, choose the one that has a bearing.
A Bit of History
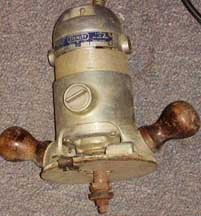
These basic shapes have defined various furniture styles throughout history. Originally these profiles were scraped or cut into the wood using sharpened metal blades. The blades were shaped with a negative of the desired profile by means of scratch sticks or beading tools, and then more elaborate hand planes. Industrial shaping of wood has been done using machines for well over a hundred and thirty years, but it wasn’t until the portable router became widely available in the 1970’s that the hobbyist woodworker had access to such powerful edge shaping capability (note that the design hasn’t changed).
To read more detailed information or ask your own questions using our Live Chat, visit our website.
Tags: carbide router bits, diamond tipped router bits, slotting router bits, Vortex router bits, Whiteside router bits
One Response to “Profiling Router Bits- The Five Basic Shapes”
Leave a Reply



Nice tips. I’m not a professional wood worker but I like woodworking. I often do some simple things for my family. I used the wood router for my job. The router bit is the most important accessories of the router.